Last Updated on: 22nd April 2024, 11:54 am
With over 1 billion people using Google Maps to find businesses, not having your business listed could mean losing out on a lot of potential customers. Here are 9 easy steps to add your business on Google Maps
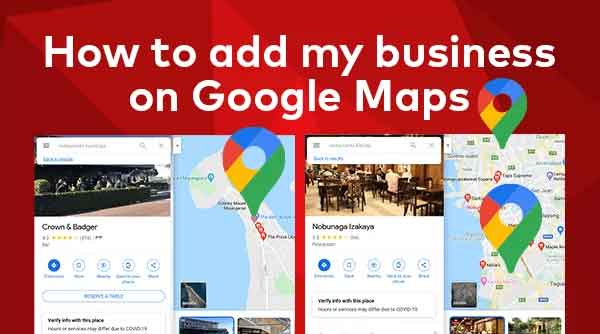
The Best Guide to Add Your Business on Google Maps
1. Log in to Your Google My Business Page
In case you still don’t have a Google My Business profile, learn how to list your business on Google here.
2. Add New Location
On the main dashboard, click ‘Add New Location’ on the left sidebar panel.
3. Enter Business Name
Next, enter your business name and click on ‘Next.
4. Add Business Category
Enter your business category. If you already have a Google My Business listing, the category will be pre-filled. Though you still have the option to edit it. Select the correct or most relevant category and click on ‘Next.
5. Point Exact Location
Next, Google will show a map of the area of the address you indicated. Drag the pin to the exact location of your business and click on Next.
6. Enter Address
In the next step, enter your business address and click on Next.
7. Add Other Information
Enter your business phone number and website. This information is optional. Then, click on Next to continue.
8. Verify Connection
Google will ask you to verify your connection with the business. Without verification, your business will not be listed on Google Maps. Click Finish to verify.
9. Add Other Information
You can choose a postcard with a verification ID sent by mail to the address you indicated. If you’ve provided your business phone number, you’ll also have the option of verifying your business through a telephone call.
Once verification is done, your business listing will go live on Google Maps. Users will be able to locate and get directions to your business, leave reviews, view photos, and other details. Then, you’ll be able to respond to reviews, create promotional posts, and track business analytics such as search volume, the number of times directions to your business were requested, etc.