Last Updated on: 10th September 2024, 12:00 pm

How to Create a Google My Business Listing in 3 Easy Steps

No idea on how to create a google my business listing? But why is it important? Well, creating a Google My Business (GMB) listing is a crucial step for any small business looking to increase its online visibility and attract more local customers. The best part? It’s a relatively simple and straightforward process that can be completed in just a few minutes! In this article, we’ll walk you through how to create a google my business listing in 3 easy steps.

Whether you’re a local shop owner, a service provider, or just getting started with your business, this guide will help you tap into the power of Google to reach more customers and grow your presence online. Let’s get started on making your business easier to find!

3 Steps on How to Create a Google My Business Listing

create google my business listing

Creating a Google My Business (GMB) listing is essential for increasing your business’s visibility in local search results and attracting more customers. By following a few simple steps, you can ensure that your business is easily found on Google Search and Maps.

Here’s a quick guide to help you create your GMB listing in just 3 easy steps!

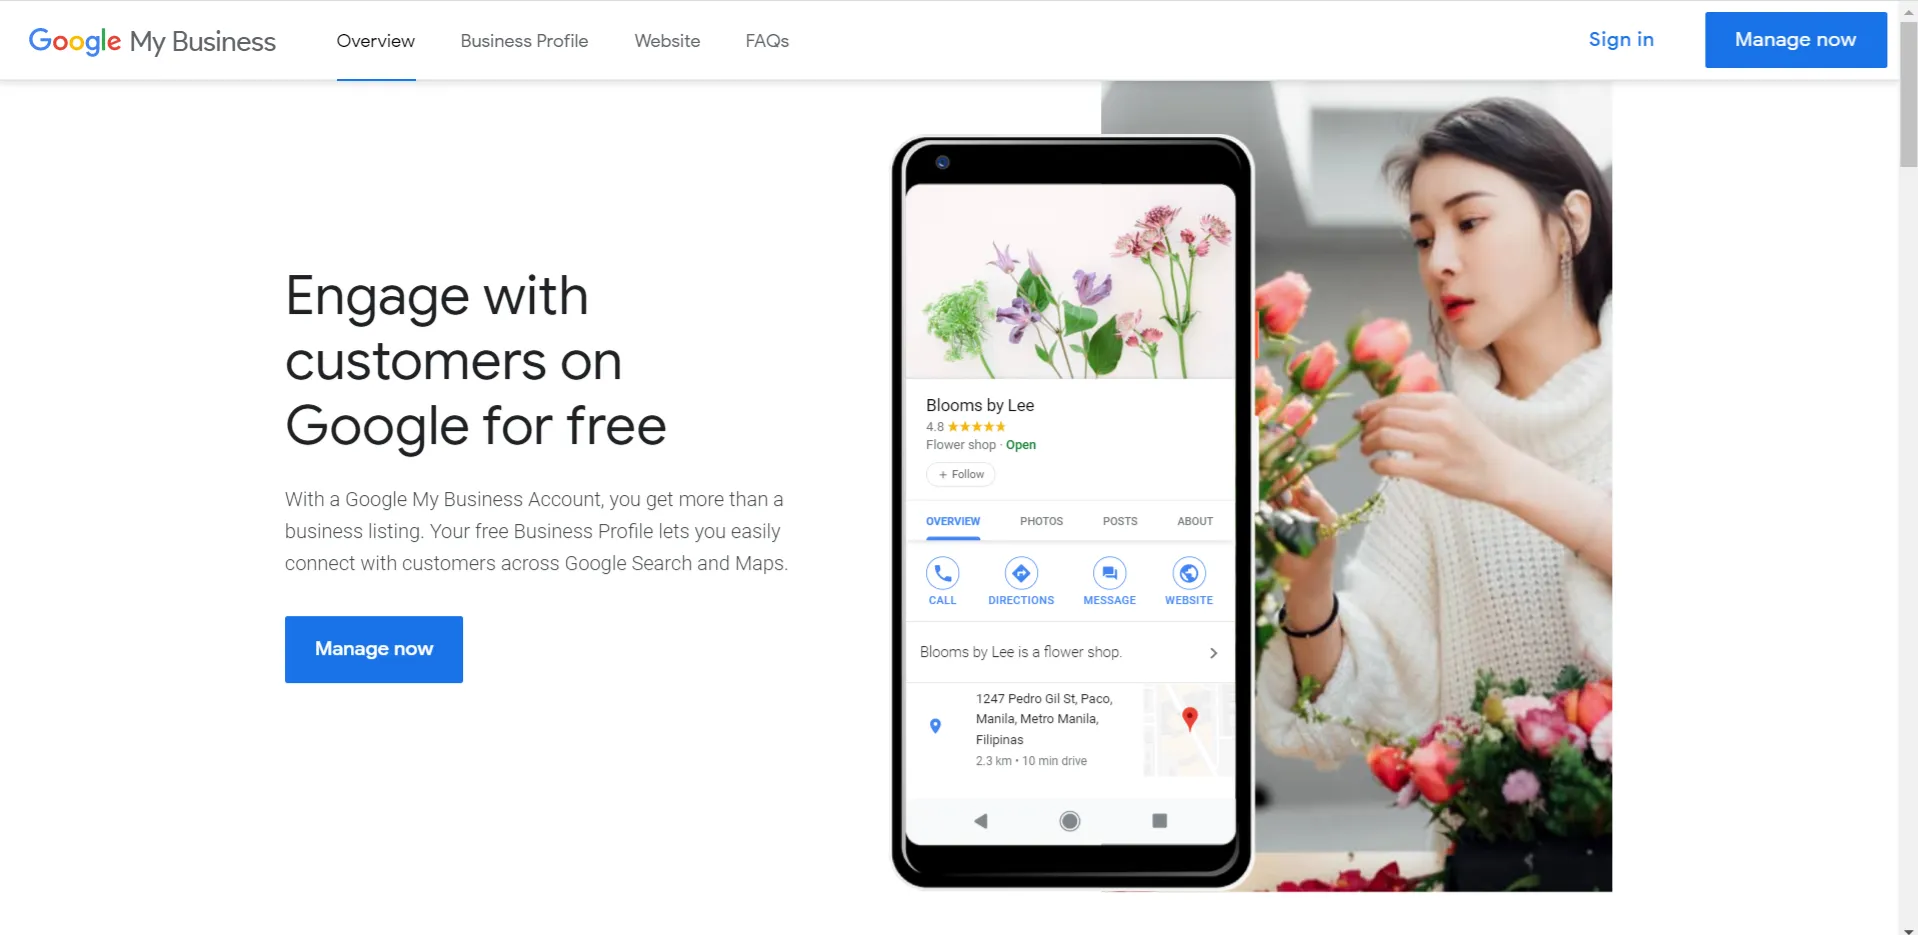
1. Sign In and Add Your Business

The first step to creating your Google My Business (GMB) listing is to sign in to your Google account. Head over to the Google My Business page and sign in with the email address you want to associate with your business. It’s important to use the email that will be regularly checked and is tied to your business activities.

Once signed in, you’ll start by adding your business information in the form provided. This is where you fill in key details about your business, such as your business name, address, contact information, and business category. Be sure to enter accurate and up-to-date details, as this information is what will appear to potential customers searching for your business. If your business already appears in the drop-down menu as you type, simply select it and click “Continue.” This indicates that Google may already have some data about your business, and you’ll just need to claim it.

Step 2: Add Your Business to GMB

If your business doesn’t appear in the drop-down suggestions, don’t worry! You can still add it manually. Simply continue the process by filling out the required information. After you press “Continue,” Google will ask you to confirm your business details to ensure accuracy.

At this point, you’ll need to authorize yourself as the business owner or manager. Google may ask you to verify that you are associated with the business by sending an authorization request to the email or phone number you provided. Once authorized, Google will automatically create a Google+ page for your business, which acts as an online hub for your business information. From here, you can manage your business profile, update information, and engage with customers through reviews and posts.

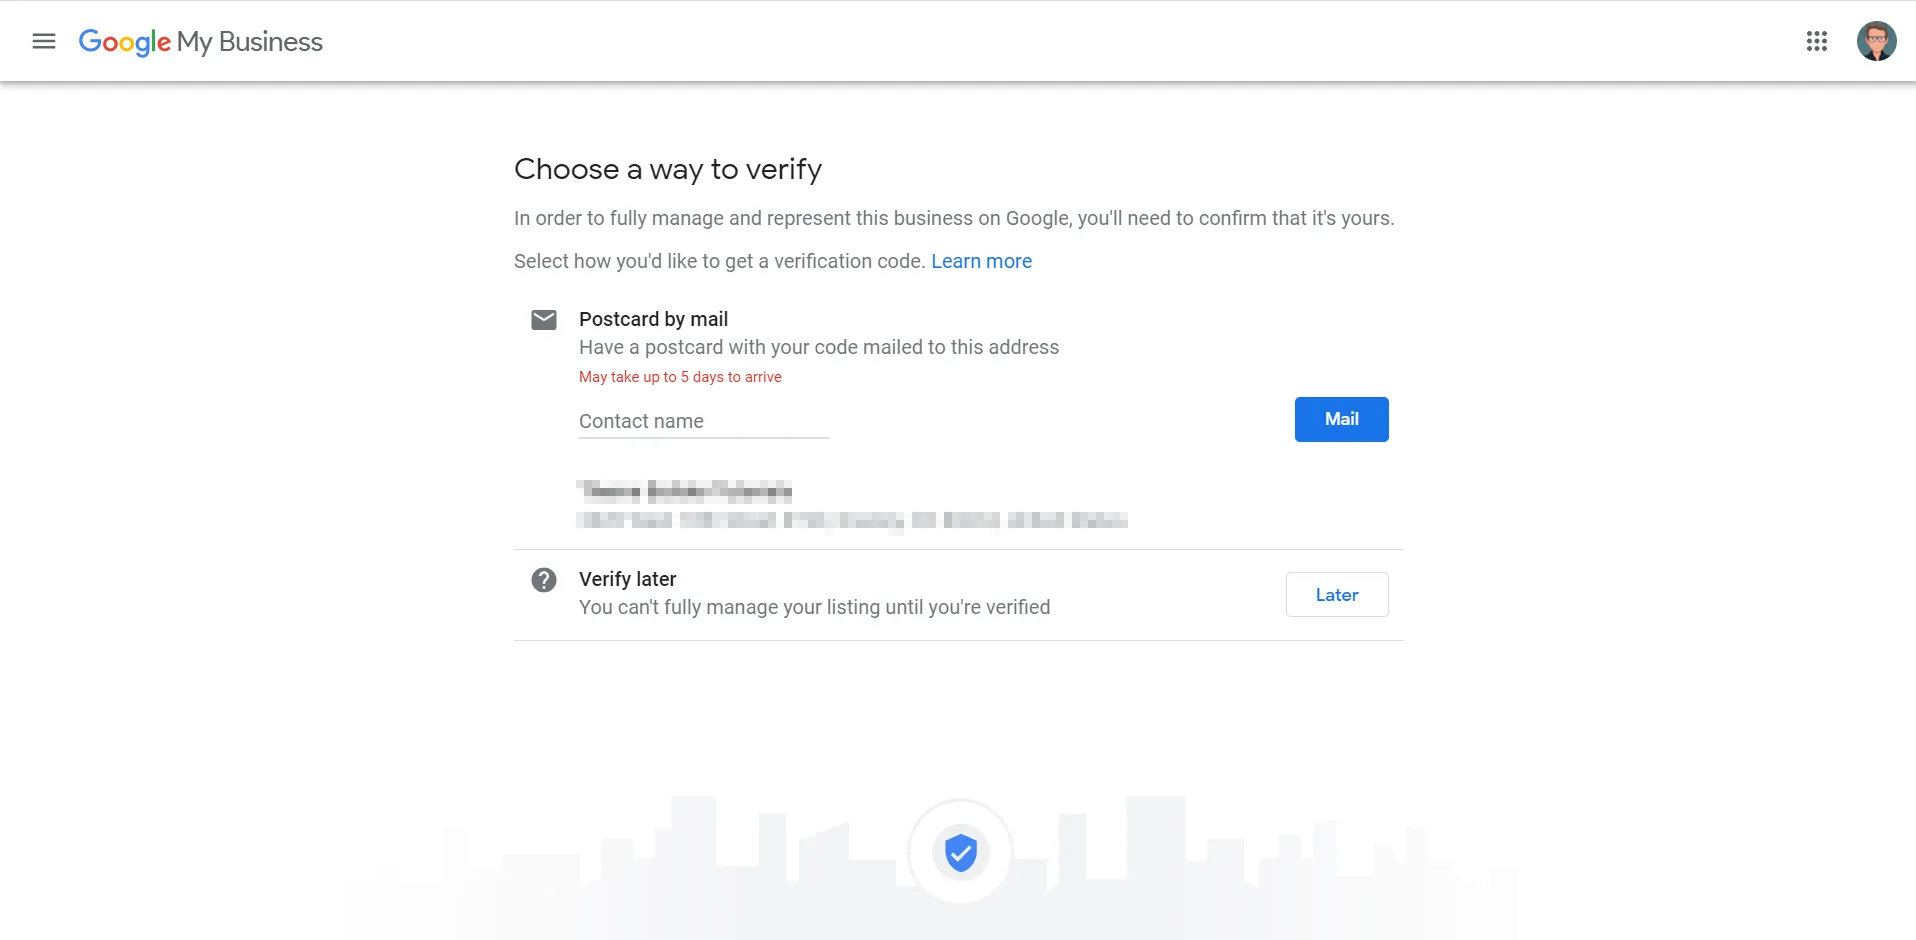
Step 3: Verify Your Business

The final step in creating your Google My Business listing is to verify your business. Google typically sends a verification code via postcard to the physical address you provided. This process can take up to 12 days, so keep an eye on your mailbox. The postcard will contain a unique code that you will need to complete the verification process.

Once you receive the postcard, log back into your GMB account and enter the code in the verification section. This step is crucial, as it confirms to Google that your business is legitimate and operational at the given address. After verification, your business will officially be live on Google, and you’ll have full access to manage your listing, respond to reviews, post updates, and track your performance.

By completing these three simple steps, you can ensure your business is more visible to local customers searching on Google Search and Maps.